-->
This tutorial was written in PSP 9 and can be used with any other version.
I assume that you have a working knowledge of PSP.
-----------------------
Supplies Needed:
Tube of choice/close up
Awesome scrapkit by Sarah
Get her “Country Girl” kit Here
fonts of choice mask of choice
I used Becky_Mask022
Plugins Needed Optional:
Xero - porcelain
-----------------------
You can buy his tubes here www.mypsptubes.com
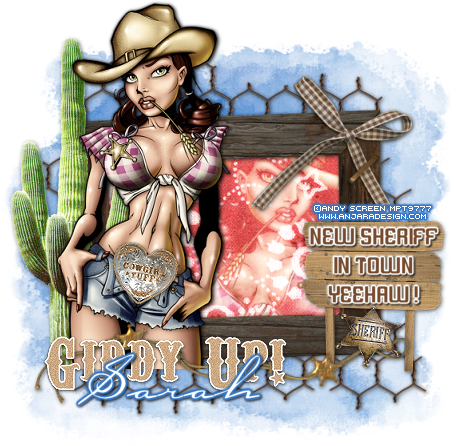
Let’s open your scrap pieces resize if needed, let’s open up your frame with the chicken wire in the background, resize if needed go to image>canvas size 600x600, grab your magic wand click the sindie of your frame, selections modify>expand by 4 copy and paste your paper of choice invert>delete selection none, drag below your frame, now resize your tube closeup click the inside of your frame again, expand by 4 copy and paste tube of choice, selections invert> delete selection none, change your blend mode to screen, add your porcelain plugin settings of choice.
Now let’s add your elements of choice, I used the catus, wordart, sheriff badge, tuff cowgirl belt buckle, string of badges, and the wooden sign, resize them if needed place where you want them to go add drop shadow, now resize your main tube if needed place on the opposite side of your frame, cut off any extra access hide below your string and wordart. I then added “New Sheriff In Town Yeehaw!” to your sign. Add your mask, copyrights, now add your name save as a PNG, and you’re done!
Thanks for trying my tutorial.
Now lets see those results,
I hope you have enjoyed this tutorial!
-----------------------
This tutorial was written on June 29th, 2010 by Melissa.
In no way may this tutorial be copied to another
website without the creators permission. Any resemblance
to this tutorial is purely coincidental.

No comments:
Post a Comment