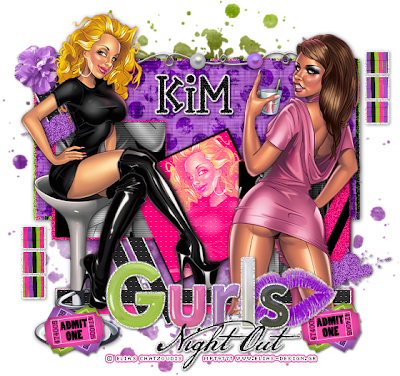
This tutorial was written in PSP 9 and can be used with any other version.
I assume that you have a working knowledge of PSP.
-----------------------
Supplies Needed:
Tube of choice/close up
Scrap by Sweetness Expressions
Buy this awesome scrap HERE
Collab Temp by Cakes&Vixen
Get their “Vixen” Template Here
Font of choice, I don’t remember
what mask I used sorry.
Plugins Optional:
Penta.com - color dot
Photo Effex - scanlines
-----------------------
You buy his tubes here www.mypsptubes.com
Alright let’s open your template, I removed the wordart there is several blank layers for some reason just go through and delete them first, let’s open your scrap pieces of choice, I resized the template down a few, now let’s start, select “vector2” selections all float> defloat copy and paste paper of choice invert>delete select none, do the same thing with “vecter4” layer, selections all float>defloat copy and paste your paper of choice invert>delete select none, Close out of every layer then merge these 2 new paper layers add drop shadow.
Now let’s select “raster 14” & “raster13” layers one at a time selections all float>defloat copy and paste paper of choice to each 3 sets either the same paper for all 6 or different colors for each, invert>delete select none merge these add drop shadow. Now lets go to the two splats selections all float>defloat add a new raster layer now flood fill color of choice, select none, do the same with the other splat. Now add noise to it or just leave it blank merge these also add drop shadow.
Now let’s select the left “black box” layers one at a time selections all float> defloat copy and paste tube of choice, invert>delete select none, do the same for the other right “black box” layer, copy the same tube or different, invert>delete select none, now for the 2 black boxes I didn’t flood fill with color or paste paper, so I just turned the tubes to black and white. Then I added the scanlines plugin to each tube, now click on the middle pink box selections all float>defloat copy and paste your tube of choice invert>delete select none I messed around with the blend mode for the tube now add your color dot plugin.
Now merge all of the boxes add a drop shadow to these, now last part lets select “lines” rasters selections all float>defloat copy and paste paper of choice invert>delete select none, now do the same for “raster5", Now it’s time for your main tubes I used 2 place them where you want them resize them first if needed add drop shadows, Open all your scrap elements of choice resize them, I used admit one tickets, gurls night out wordart, purple flower, beaded wire, purple lips, place them where you want them add drop shadows to all of your elements, now add your mask, resize your tag if you want, add your copyrights your name save as a PNG and you’re done.
Thanks for trying my tutorial.
Now lets see those results,
I hope you have enjoyed this tutorial!
-----------------------
This tutorial was written on
In no way may this tutorial be copied to another
website without the creators permission. Any resemblance
to this tutorial is purely coincidental.

No comments:
Post a Comment