
-->
This tutorial was written in PSP 9 and can be used with any other version.
I assume that you have a working knowledge of PSP.
-----------------------
Supplies Needed:
Tube of choice/close up
FTU scrapkit by Twinky
Find her “Rock Star” kit Here
Fonts of choice, mask of choice
Insatiabledreams Mask 62, by Cat
Get that mask and many more Here
-----------------------
I am using the artwork of Ismael Rac
This tube was bought at AMI, But
You can buy his tubes Here
-----------------------
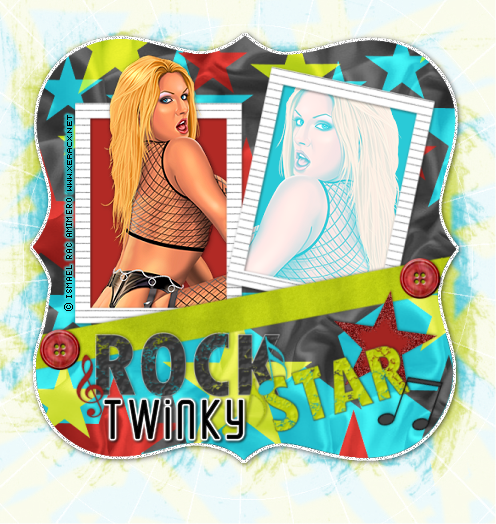
Very easy tutorial.
Let’s open up template3 in twinkys rock star kit, resize it down, click use your magic wand clicking the window of each square selections all modify>expand by 4, add a new raster layer now flood fill 2 colors of choice, select none. Drag layer below your frame, now open up your tube or a close up of your tube you want to use resize click on the right side frame, use your magic wand again click the inside, modify>expand by 4 copy and paste your tube of choice, invert>delete select none. Now change blend mode to your tube.
Now resize your main tube place on the left side above the rectangle frame add drop shadow, place where you want duplicate tube layer, drag below your frame layer, take your eraser tool and erase the tube on the bottom use my tag as a reference so it looks like your tube is poking out of the frame, now add your mask, copyrights now you can add your name save as a PNG and you’re done.
Thanks for trying my tutorial.
Now lets see those results,
I hope you have enjoyed this tutorial!
-----------------------
This tutorial was written on Auguest 31th, 2010 by Melissa.
In no way may this tutorial be copied to another
website without the creators permission. Any resemblance
to this tutorial is purely coincidental.
No comments:
Post a Comment