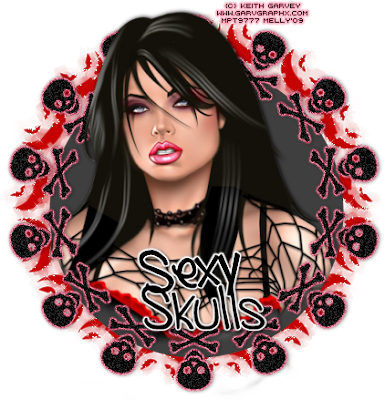
This tutorial was written in PSP 9 and can be
used with any other version. I assume that
you have a working knowledge of PSP.
-----------------------
Supplies Needed:
Dingbat font of choice
@ dafont Skullz
CloseUp of choice
Mask of choice i used
Vix, Mask 281
Font of choice
Plugins Needed:
Eye Candy - Gradient Glow
MuRa's Meister - Copies
Xenofex - Constellation
-----------------------
I am using the artwork of Keith Garvey,
You can visit his site HERE
-----------------------
Open a 550x550 canvas
now open your tube , Go to your preset tool
and use your ellipse shape, draw out a semi big circle
Copy and paste your tube place where wanted, Add a drop down
shadow of your choice Then use your eraser tool and erase the rest off.
Now go to your text and choose a skull that you want,
go to your plugin gradient glow choose a color to glow around
your skulls, i choose pink the color of her lipstick, add noise if you want then
add a drop down shadow of choice. now use mura's meister
copies, use encircle and settings that fits right for you.
Now add 2 new raster layers, flood fill one white, and flood fill
the other color of choice, drag colored on top of white add your
mask of choice, then use xenofex - constellation settings of your choice.
Resize, add your copyrights & name and save as a PNG.
the other color of choice, drag colored on top of white add your
mask of choice, then use xenofex - constellation settings of your choice.
Resize, add your copyrights & name and save as a PNG.
Thanks for trying my tutorial.
Now lets see those results,
I hope you have enjoyed this tutorial!
-----------------------
This tutorial was written on October 10, 2009 by Melissa.
In no way may this tutorial be copied to another
website without the creators permission. Any resemblance
to this tutorial is purely coincidental.

No comments:
Post a Comment