
This tutorial was written in PSP 9 and can be used with any other version.
I assume that you have a working knowledge of PSP.
-----------------------
Supplies Needed:
Tube of choice/close up
Ptu now Ftu scrapkit by Chassity
Girlie Girl kit HERE
3rd kit down
Missy’s Template 329 HERE
font of choice i used Weltron
Plugins Needed Optional:
MuRa's Meister – Copies
Penta.com – color dots
Xero - porcelain
-----------------------
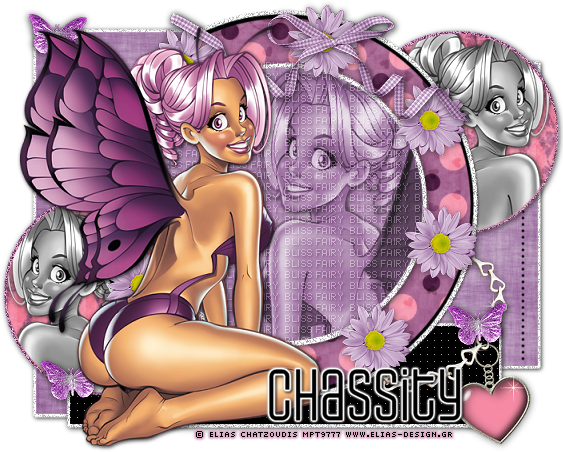
I am using the artwork of Elias Chatzoudis
Let’s open your template, I removed the pieces I wasn’t going to use before I got started, which was the wordart, stars, dots, some of the other stuff, you can use my tag as a reference on which to remove, or leave it as is…. Now resize, I resized to about 80%
Now lets open your tubes of choice, resize your tube I resized about 80% also
Place tube where you want it but not in front of the circle we’re going to be needing that clear, I placed mine on the left hand side, now add drop shadow
Now let’s click on the main circle, selections select all>float> defloat copy and paste your paper of choice, invert>delete select none, get rid of the template circle.
Select your paper layer again do the same thing, but copy and paste your close up tube of close, invert>delete select none, make sure your tube layer is above the paper layer now you don’t have too but I changed blend mode to luminance (legacy). Now let’s apply open up xero for that porcelain effect, mess with the settings that best suit you. Now let’s get your text tool background set to white, let’s use a pixel type font size 6 anti-alias off, type out text that you would like I choose “Fairy Bliss” Layers>convert to raster
Not let’s use copies plugin, “preset menu” I used “tiling” I tweaked with the rest of the settings, you may need to too, to get the effect you’d like. Now once you’ve done that go to your paper layer, again selections select all>float > defloat, select invert not go to your layer with the tiled text hit delete selection none. Change blend mode to “soft light” now add drop shadow to make the text pop out more. I used Opacity at 100, blur at 3, vertical & horizontol at 1, color black, click ok.
Let’s drop down to your glittered circle layer, I went to adjust> add noise set mine to like 66% so it would be brighter since I resized it, now go back to adjust>sharpen, add drop shadow of choice, Now let’s move to the pink circle layer, selections select all>float> defloat copy and paste paper of choice I used paper7 invert>delete select none. Close out of your template layer, go back to the other glittered circle layer, and refresh that as well go to adjust>add noise, now back to adjust>sharpen.
Now let’s click on your thin rectangle, get your penta.com color dot plugin, settings of choice apply to your black square, you may change the color or add paper, but I didn’t, now go to the layer below the black rectangle, adjust>add noise 66, adjust>sharpen, now add drop shadow.
Now let’s go to both of your circle layers on each side, hide all your layers, mege these together, unhide your layers, selections all float>defloat copy and paste paper of choice, invert>delete select none, now time to add your tubes of choice if you want, selections all float>defloat, copy and paste your tube of choice, to each circle at once, not click invert> go to each tube layer and hit delete, now select none, turn your tubes black & white
Go back on the paper layers on the 2 circles, selections all float >defloat> modify> expand by 3, add a new raster layer, floor fill color white, select none, drag flood fill layer below your tube & paper layer, to go adjust> add noise 54% drop shadow.
Let’s hide all your layers besides your back rectangle layer with the glittered layer, and “shape2”, select all float>defloat, add a new raster layer, flood fill white, select none, now drag the white layer below, get rid of the pink/white glittered layer that was below it, back to white floor fill, adjust>add noise 54%, now add a drop shadow, now do the same thing with your shape2 layer, now hide your glittered layers, merge your rectangle & shape2 layers, selections all float>defloat copy and paste your paper of choice, invert>delete select none.
Now open your flower element of choice, I used the purple element44, resize down to about 25% copy and paste around the bigger circle duplicate and add them around in a circle, close out of all your layers besides the flowers, merge them now add a drop shadow and unhide all your layers, drag below your tube layer if you placed any above it so it hides below. Now add the rest of elements of choice where you’d like them, add drop shadows now merge all of your layers.
Now add your copyright, name and save as a PNG

Now lets see those results,
I hope you have enjoyed this tutorial!
-----------------------
Ptu now Ftu 2/26/2017
This tutorial was written on April 15th, 2010 by Melissa.
In no way may this tutorial be copied to another
website without the creators permission. Any resemblance
to this tutorial is purely coincidental.
Thank you for this tut :)
ReplyDelete