
This tutorial was written in PSP 9 and can be used with any other version.
I assume that you have a working knowledge of PSP.
-----------------------
Supplies Needed:
Tubes of choice
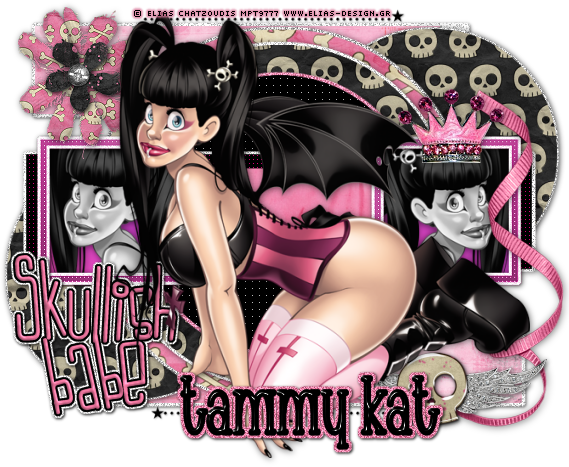
Ptu now Ftu Scrapkit by Tammy Kat
Skulls 'n Bones kit HERE
She Re-vamped this scrapkit too
Missy’s template 332 HERE
fonts of choice i used Chachie
LDJ Jilly Nilly
Plugins Needed Optional
Penta.com – color dot
-----------------------
I am using the artwork of Elias Chatzoudis
-----------------------
Open up template & scrap kit pieces resize them first if needed, resize your template to 80%, remove anything you don’t plan on using. Select the inside of your square frame with your magic wand, selections all modify>expand by 3 copy and paste your tube of choice, invert>delete select none, do the same to the other square, turn black and white.
Select the colored center rectangle, selections all float> defloat> copy and paste paper of choice, invert>delete select none, select the black rectangle selections all float> defloat> modify> expand by 3 add a new raster layer, flood fill color of choice select none, make sure to drag the flood filled layer below your black rectangle layer, add noise now add drop shadow. Go back to the black rectangle get your color dot plugin and use it settings of choice, do the same for your black circle.
Select the black circles glitter layer, selections all float> defloat modify> expand by 3, add a new raster layer flood fill color of choice now select none, drag this layer below the black circle now select none add noise and now add your drop shadow.
Let’s go to the bigger pink circle selections all float> defloat> copy and paste paper of choice, invert>delete select none, behind this layer select it, now selections all float> defloat modify> expand by 3, add a new raster layer flood fill, delect none keep in mind every time you add a new raster layer and flood fill color or paper you need to drag it below so you can see your main layer, add noise and drop shadow, now do the exact same for the last circle and glittered circle layer.
Now go to your purple and pink circle glittered layers, hide all your layers by clicking the “eye” now merge these 2 layers, selections all float> defloat> copy and paste paper of choice, invert>delete select none, now hide that layer, do the same for the back black circles, merge those, selections all float> defloat> modify> expand by 3 now add new raster layer, flood fill color of choice, select none, add noise and drop shadow
Now let’s hide all your layers but your left and right black rectangle merge these not selections all float> defloat> copy and paste paper of choice, invert>delete select none, hide these unhide your white glitter layers add drop shadow, now unhide all your layers
Now for your main tube, place where you’d like it resize if needed, now add drop shadow, resize your elements of choice, place them where you’d like them add drop shadows of choice, now get your text tool out and type out anything you’d like for a simple wordart I used skullish babe add your gradient glow drop shadow.
add your copyright & your name, Now save as a PNG and you're done!
Now lets see those results,
I hope you have enjoyed this tutorial!
-----------------------
Ptu now Ftu 2/26/2017
Ptu now Ftu 2/26/2017
This tutorial was written on April 19th, 2010 by Melissa.
In no way may this tutorial be copied to another
website without the creators permission. Any resemblance
to this tutorial is purely coincidental.
No comments:
Post a Comment