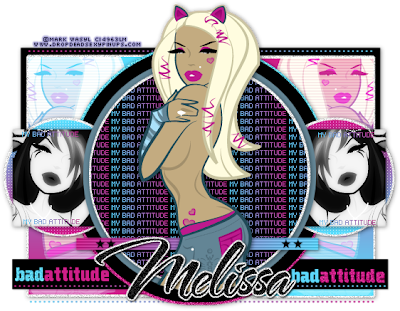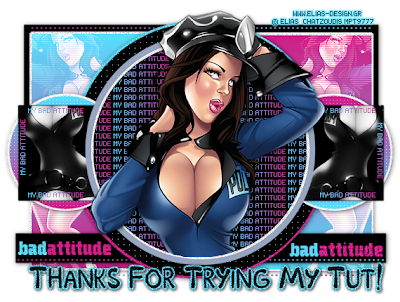
This tutorial was written in PSP 9 and can be used with any other version.
I assume that you have a working knowledge of PSP.
-----------------------
Supplies Needed:
Tubes of choice
No scraps needed
Missy’s Template 335 HERE
font of choice i used TheNautiGal
Plugins Needed Optional:
MuRa's Meister - Copies
PhotoEffex – Scanlines
Xero – Radiance
Penta.com – color dot
-----------------------
I am using the artwork of Mark Wasyl
You can buy his tubes here CILM
-----------------------
Open up your template
Let’s take off the text “my bad attitude” right click “cut” now paste it back into paintshop, I resized my template to about 80% before continuing to the next steps.. now use your selection tool and draw a rectangle around one of the top words, now cut that off and paste back onto your template, *if too confusing just re type out “my bad attitude” in your gradient of choice* use your “meister’s copies” plugin and settings of choice, I used “tiling” though, the rest I just messed with to suit my needs.. I used it inside the big black circle, so I now select the black circle selections select all>float >defloat, click on your copies text layer, not go to selections>invert deleted, now select none.. I also took off some of the other stuff, like the stars, and the text “I don’t give a toss” this is optional
Now get rid of the layers you aren’t planning to use, so there is less layers to deal with, once you’ve done that Select the light blue circle “circle2” and selections all, float> defloat add a new raster layer and flood will color of choice, or leave this color the way it is, select none, now delete the original circle2 layer
Now get your for your main tube, resize if needed add drop shadow now place in front of the black circle cut off the access, now add drop shadows on the layers you’ve done.
Now select your gradient filled rectangle selections select all>float >defloat paste your tube of choice, select invert> delete now selections none, now use the same tube or use a different tube from the same artist and do the same thing to the other side, now change blend mode to “screen” now lets go to the plugin scanlines use your own settings.
Now lets go to the center rectangle, selections all float>defloat, copy and paste your tube of choice on each side so you can see them in the “squares” now select delete and select none, now select one of your tubes layer and make it black & white, now add your plugin radiance settings of choice, now go add your “my bad attitude” that we cut off the template in the beginning and place on the squares, or make your own text and re-do it yourself, sorry if it’s confusing.
Now go to your 2 gradient filled circles add your plugin penta.com – color dots, now add this effect to the other circle.
add your copyright & your name, Now save as a PNG and you're done!

Now lets see those results,
I hope you have enjoyed this tutorial!
-----------------------
This tutorial was written on
In no way may this tutorial be copied to another
website without the creators permission. Any resemblance
to this tutorial is purely coincidental.

No comments:
Post a Comment